Please call us: 386 451 5577
Home
Rooms
Specials
Area Attractions
Things to Do
Dining
Events
Photo Gallery
Guestbook
Accessibility
Contact
Check In
Check Out
Adults
1
2
3
4
5
6
7
8
9
10
11
12
13
14
15
16
17
18
19
20
21
22
23
24
25
26
27
28
29
30
31
32
33
34
35
36
37
38
39
40
41
42
43
44
45
46
47
48
49
50
Kids
0
1
2
3
4
5
6
7
8
9
10
11
12
13
14
15
16
17
18
19
20
21
22
23
24
25
26
27
28
29
30
31
32
33
34
35
36
37
38
39
40
41
42
43
44
45
46
47
48
49
50
Promo Code
Photo Gallery
« Previous
Back to Gallery
Next »
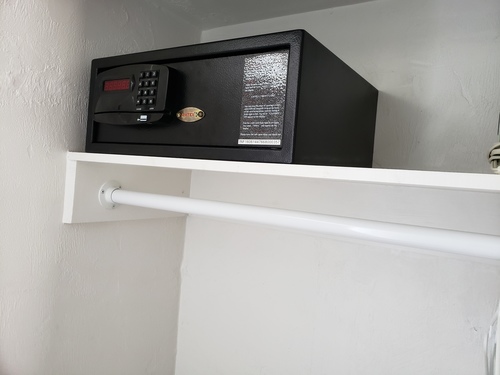
Safe
« Previous
Back to Gallery
Next »